Introduction
Losing important files, photos, videos, or documents from your smartphone can be frustrating. Whether it’s due to accidental deletion, system crashes, or device malfunctions, recovering lost data is crucial. Dr.Fone: Photo & Data Recovery is one of the best tools available for data recovery, offering an easy-to-use interface and powerful recovery features. In this guide, we’ll explore everything you need to know about Dr.Fone, how to use it, its features, and why it stands out among other recovery tools.
What is Dr.Fone: Photo & Data Recovery?
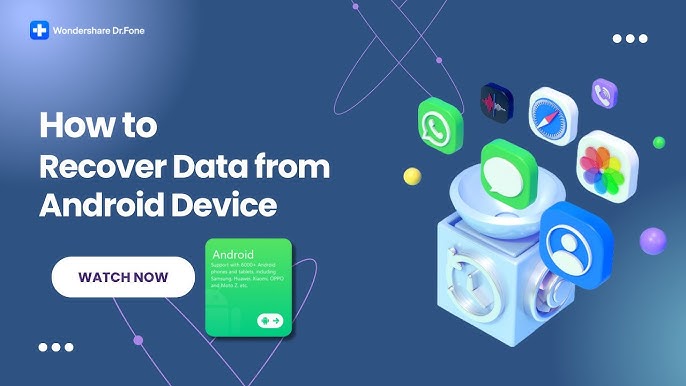
Dr.Fone is a professional data recovery application developed by Wondershare. It helps users recover lost or deleted photos, videos, messages, contacts, and other types of files from Android and iOS devices. It is designed to retrieve data from internal storage, SD cards, and even broken or inaccessible devices.
Key Features of Dr.Fone: Photo & Data Recovery
- Recover Deleted Photos & Videos: Restore lost images and videos from phone memory and SD cards.
- Retrieve Messages & Contacts: Easily recover deleted SMS, call logs, and contacts.
- Support for Multiple Devices: Compatible with both Android and iOS devices.
- Deep Scan & Quick Scan: Offers two scanning modes to find lost files quickly and thoroughly.
- Recover from Broken or Inaccessible Devices: Supports data recovery even if your phone is broken, water-damaged, or stuck on a black screen.
- User-Friendly Interface: Simple and intuitive UI for non-tech users.
How to Use Dr.Fone for Photo & Data Recovery
Using Dr.Fone for data recovery is a straightforward process. Follow these steps to retrieve your lost files:
Step 1: Download & Install Dr.Fone
- Visit the official Wondershare website and download Dr.Fone.
- Install the software on your computer.
Step 2: Connect Your Device
- Launch Dr.Fone and connect your phone via USB.
- Enable USB debugging (Android) or trust the device (iPhone).
Step 3: Select Recovery Mode
- Choose ‘Recover Data’ and select the file types you want to retrieve.
- Select either Quick Scan or Deep Scan.
Step 4: Scan for Lost Files
- The software will scan your device for recoverable data.
- Preview the detected files before recovery.
Step 5: Recover & Save Files
- Select the files you want to restore and click ‘Recover.’
- Save them to a safe location on your PC or external storage.
Why Choose Dr.Fone Over Other Data Recovery Tools?
- High Recovery Success Rate – Compared to other recovery apps, Dr.Fone provides a higher success rate in retrieving lost files.
- Supports Various Data Loss Scenarios – Whether data was lost due to accidental deletion, factory reset, system crashes, or malware attacks, Dr.Fone can handle it all.
- Secure & Safe – Dr.Fone ensures no further damage to existing data during the recovery process.
- Wide Compatibility – Works with most Android brands (Samsung, Huawei, Oppo, etc.) and iPhones.
Dr.Fone Pricing & Availability
Dr.Fone offers a free trial for basic scanning, but to recover files, you need a premium version. The pricing varies depending on the subscription plan and features you choose. It is available for both Windows and macOS.
Tips to Prevent Data Loss in the Future
While Dr.Fone is an excellent recovery tool, it’s always best to prevent data loss in the first place. Here are some tips:
- Regularly backup your data to the cloud or external storage.
- Use a reliable antivirus program to prevent malware attacks.
- Avoid rooting or jailbreaking your device unless necessary.
- Be cautious when deleting files or formatting storage.
Conclusion
Dr.Fone: Photo & Data Recovery is a reliable and effective tool for recovering lost photos, videos, contacts, messages, and other important files. Whether you’ve accidentally deleted data or your device has suffered damage, Dr.Fone provides an easy solution to get back your lost information. If you’re looking for a professional, secure, and user-friendly data recovery tool, Dr.Fone is an excellent choice